Create multiple route responses with dynamic rules
Learn how to create multiple responses for an API endpoint and serve them using dynamic rules
Mockoon allows you to create multiple responses for each mock API endpoint and serve them using dynamic rules. This tutorial will show you how to create a typical setup: one response returning a 200 status code and another one returning a 401 status code when the "Authorization" header is not present in the request.

💡 To learn more about APIs and API mocking in general, head over to our API guide or API mocking guide
Step 1. Create a new route
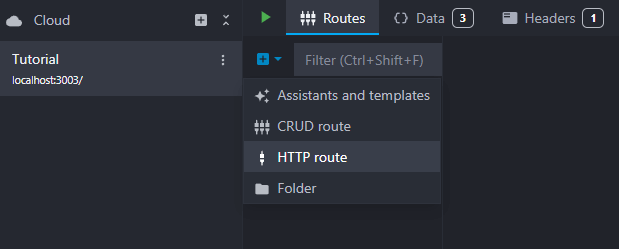
The first step is to create a new HTTP route by clicking on the blue "Add route" button and selecting "HTTP route"
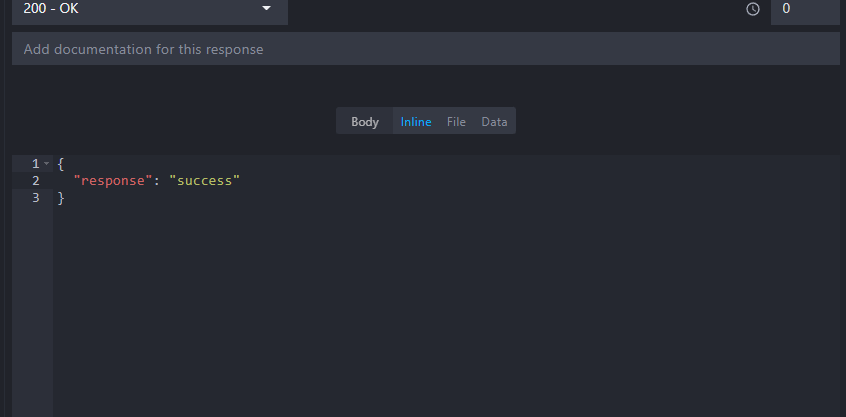
When you create a new HTTP endpoint, there is always at least one default response with a 200 status code. The default response is always marked with a blue flag and is served when no rule matches, when they are disabled, or simply when there are no other responses. We will keep the flag on this success response.

We can customize our new route by adding a simple body with a JSON response: { "response": "success" }.
Step 2. Add a "401 Unauthorized" response
The next step is to add a second response returning a 401 status code when the "Authorization" header is missing from the request.
To add a new response, click on the blue "plus" button next to the response list:

You can also duplicate a response or delete it by clicking the buttons on the right.
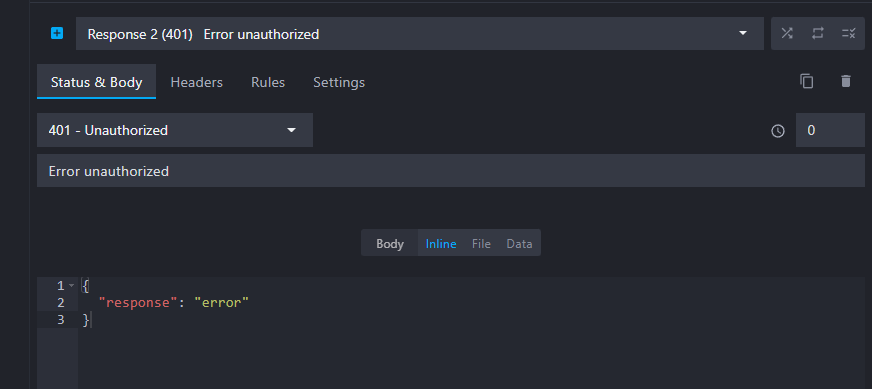
The next step is to customize our response. Let’s change the status code to 401 "Unauthorized" which is the default status code for missing credentials. You can also add a description, for example: "Error unauthorized".
Finally, we can customize the body with a simple JSON object: { "response": "error" }.
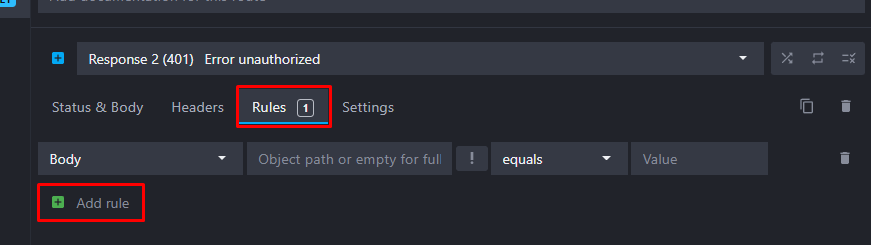
Step 3. Add a rule
The final step is to add a rule on the new 401 response to serve it only when the "Authorization" header is missing.
To add a rule, click on the "Rules" tab and then on the "Add rule" button:
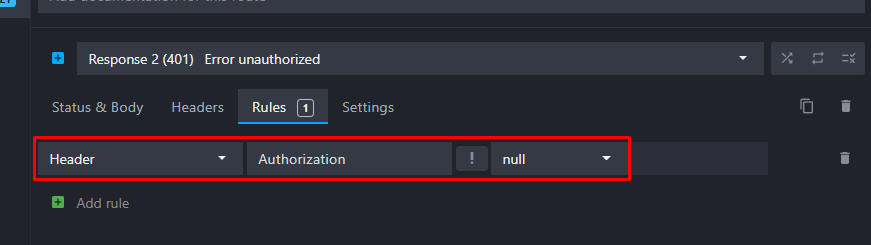
In the new rule, select "Header" and enter "Authorization" as the "Header name".
Finally, select "null" as the operator instead of "equals".
You can now test your setup by calling your mock API with and without an Authorization header. You should see the 401 response when the header is missing and the 200 response when it is present. Here are two examples using curl:
Copy$ curl http://localhost:3000/ -i
HTTP/1.1 401 Unauthorized
Content-Type: application/json; charset=utf-8
Content-Length: 25
Date: Tue, 07 Feb 2023 15:07:59 GMT
Connection: keep-alive
Keep-Alive: timeout=5

{
  "response": "error"
}
Copy$ curl http://localhost:3000/ -i -H "Authorization:abcd"
HTTP/1.1 200 OK
Content-Type: application/json; charset=utf-8
Content-Length: 27
Date: Tue, 07 Feb 2023 15:04:58 GMT
Connection: keep-alive
Keep-Alive: timeout=5

{
  "response": "success"
}
Step 4. Route responses modes
Three modes are also available next to the responses list: random, sequential, and rules disabled:

Using these buttons, you can control how responses are served. The three modes are disabling the rules and changing the way responses are served:
- Random: responses will be served randomly.
- Sequential: responses will be served in the order they are displayed and will loop back to the first response when the last one is reached.
- Rules disabled: the rules will be ignored, and the default response will always be served.
Step 5. Learn more
Now that you know how to create basic rules, you can head over to the responses and rules documentation to learn more about these features.
You might also be interested in these tutorials
Use global variables to save the state between requests
Use global variables to save the state between requests and simulate complex workflows and scenarios in your mock API.
Read moreRecord API requests and HTTP traffic and auto-mock endpoints
Learn how to record entering API requests and HTTP traffic and auto-mock your endpoints with Mockoon
Read moreCreate a partial mock API with Mockoon's proxy mode
Learn how to create partial mocks of existing APIs with Mockoon's proxy mode in three easy steps
Read more