
Record API requests and HTTP traffic and auto-mock endpoints
Learn how to record entering API requests and HTTP traffic and auto-mock your endpoints with Mockoon
When working on an application, you may want to use a mock API to speed up the development. But we all want to avoid the hassle of creating most of the endpoints manually.
What if you could record all the HTTP calls made to a server and easily create mocks for them? Good news, Mockoon got you covered!
By using Mockoon's request recording feature, you can intercept all the entering request to your mock server and create the corresponding endpoint automatically.
Another useful usage of this feature is to be able to quickly investigate bugs and communication problems by looking at the exact payload of a request.
Let's have a look on how this feature works.
To learn more about APIs and API mocking in general, head over to our API guide or API mocking guide
Step 1. Open the requests recording page
The first step is to create a new API in Mockoon or use one you already have and run it by clicking on the green "play" button.
To learn more about how to set up your first mock API with Mockoon, head over to the Getting started tutorial.
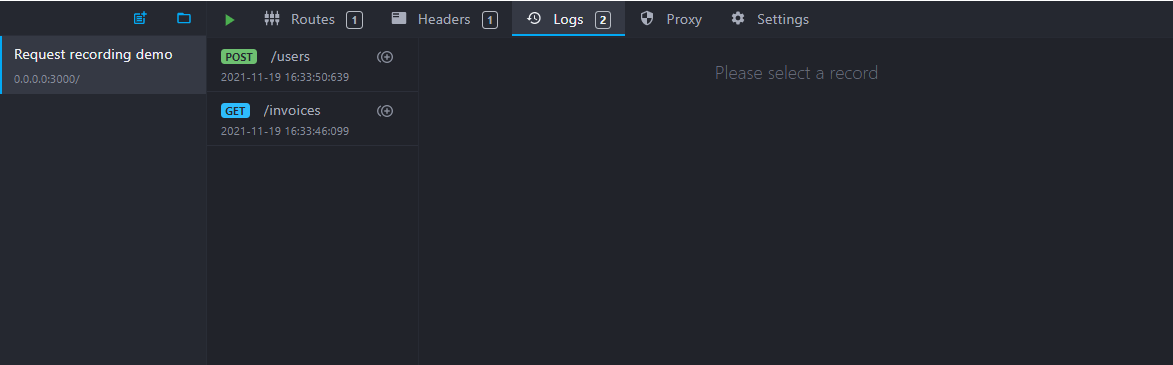
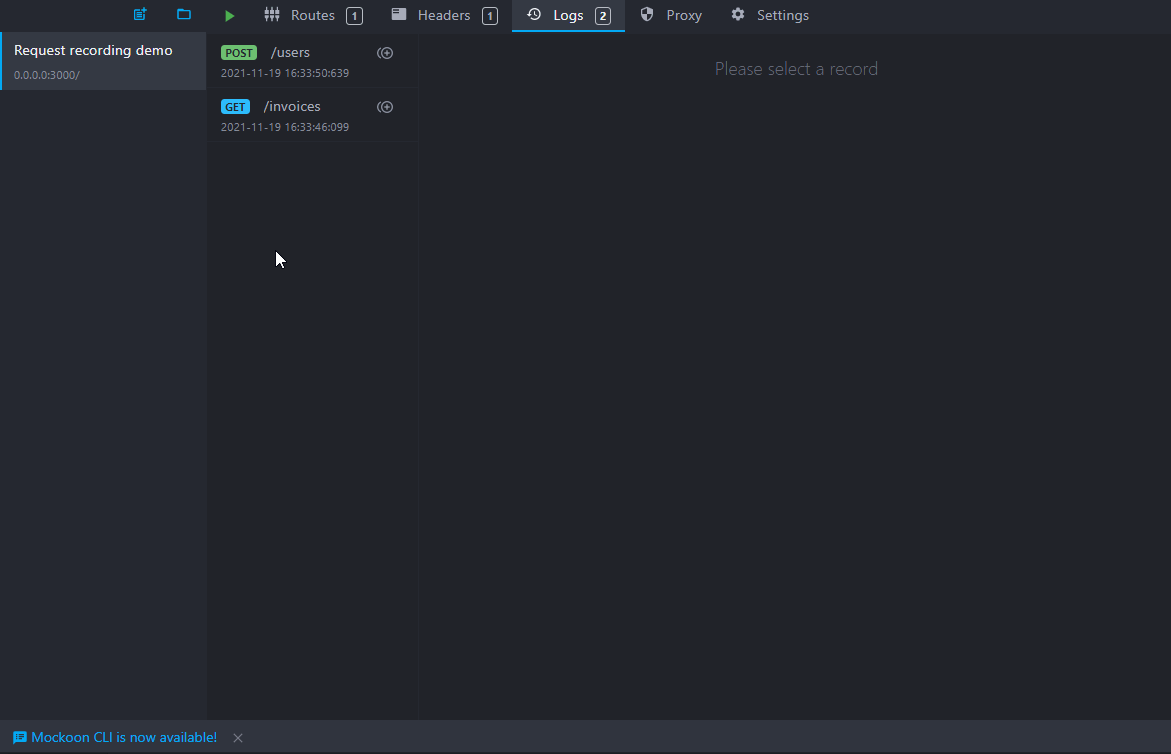
As soon as you have your mock API running, open the requests logging page by clicking on "Logs" tab at the top of the window. The page you are seeing may be empty, which is normal. You are now ready to make your first calls.

Step 2. Call your mock server
Now that you have your mock API running, you can call any route that should exists or, more straightforward, use your front-end application to trigger calls to your server.
Mockoon will answer with 404 to each of them, and you will start seeing the entering requests appearing on the left of the page in the form of a list.
Step 3. Explore the recorded requests
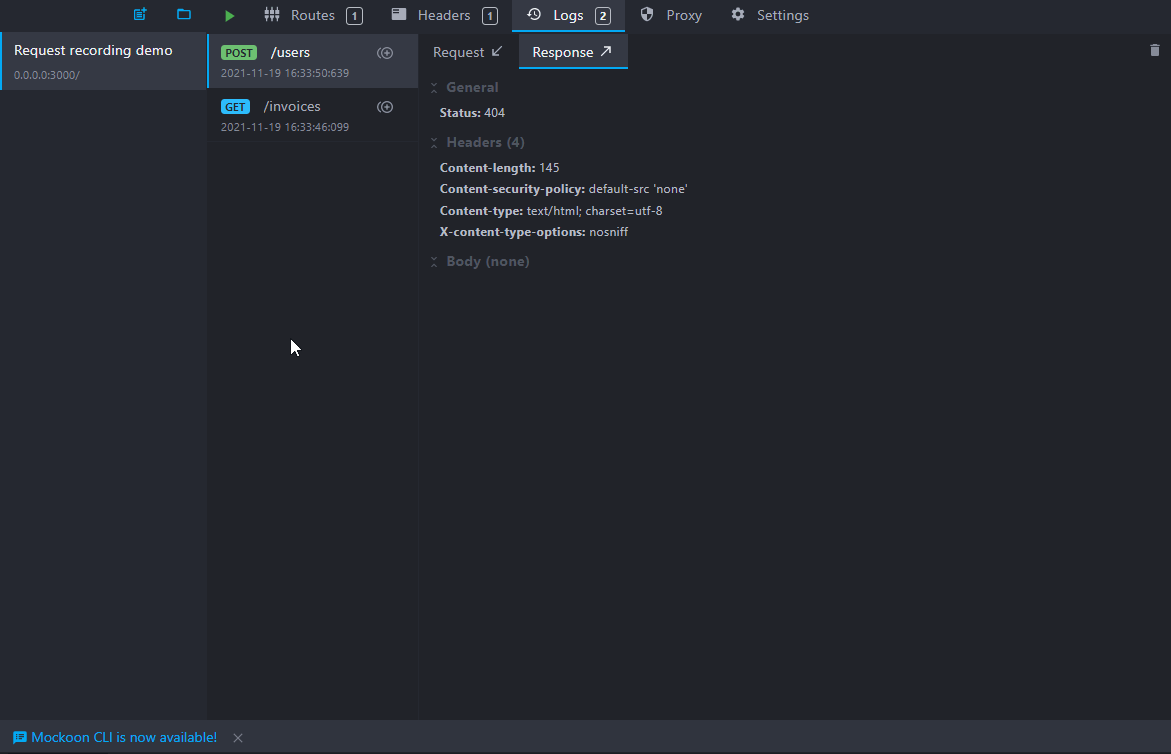
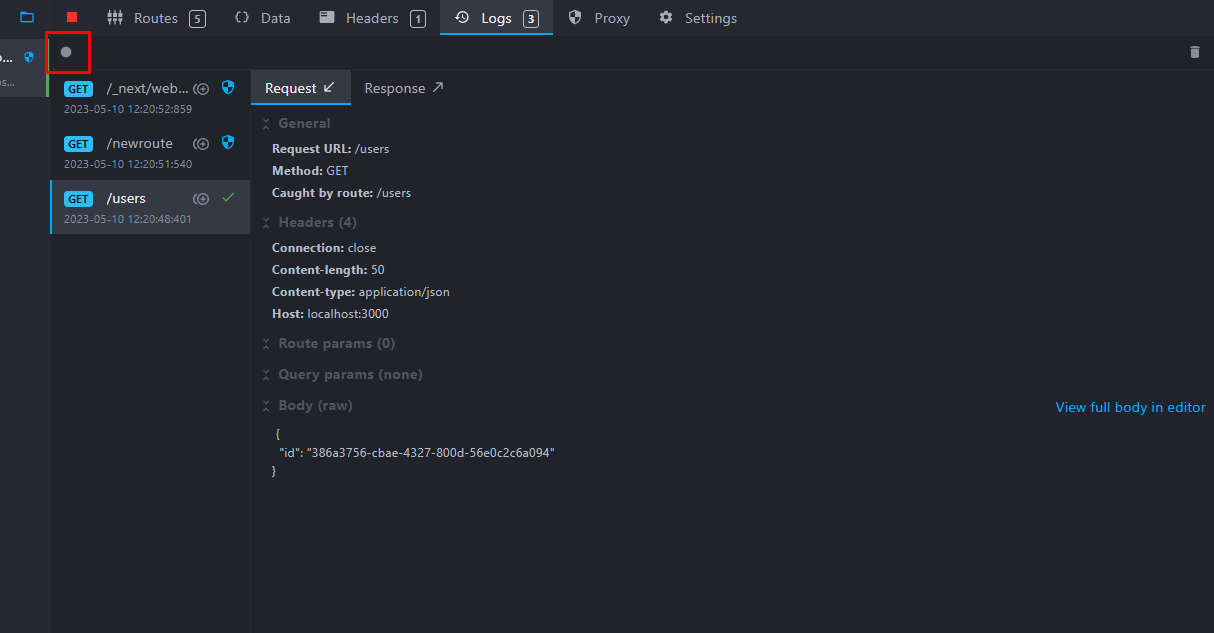
Click on one of the entering requests in the list. The details should appear on the right side of the page.
You will see that the right panel has two tabs: Request and Response. You will find the entering call payload in the Request tab. The Response tab contains the actual response sent by Mockoon.
For each of them, you can see the headers, body, and params. The request and response bodies are also viewable in a separate editor with JSON linting enabled. It is especially useful when your body consists of dynamic templating helpers, which cannot be linted before being parsed and sent by Mockoon.
When used in conjunction with the proxy mode, this feature can also be used to debug what was forwarded to or answered by the proxied API.
You are now ready to create your first mock API endpoints automatically.
Step 4. Auto-mock the missing endpoints
Next to each record, you will see a small "plus" icon. Click on these icons to create each corresponding route in your mock server. It will reuse most of the requests information (path, headers, etc.) to create the missing endpoint. From there, you can further customize your endpoint or create more mocks from the rest of the entering requests.
Step 5. Enable recording mode to automatically create new endpoints
You can also enable the recording mode to automatically create new endpoints when a new request is made to your mock server. To do so, click on the "recording" icon at the top of the page:
You might also be interested in these tutorials
Access environment variables in your templates
Learn how to access environment variables in your mock server templates to avoid exposing your API keys.
Read moreRecord API requests and HTTP traffic and auto-mock endpoints
Learn how to record entering API requests and HTTP traffic and auto-mock your endpoints with Mockoon
Read moreSelf-host your mock APIs with Mockoon CLI
Learn how to create mock REST APIs and self-host them in all headless and server environments with Mockoon CLI
Read more