Serve weighted responses with custom templating rules
Use custom templating rules to deliver weighted or probabilistic responses in Mockoon
Custom templating rules are powerful. If you've used them for rate limiting, you already know they can go beyond simple field checks. The same engine can serve weighted (probabilistic) responses, which is perfect for simulating flaky endpoints or intermittent failures.
⚠️ This tutorial requires v9.0.0 or later of Mockoon. You can download the latest version of Mockoon here.
Overview
In this tutorial, we'll use the int helper in custom templating rules to draw random integers and decide which response to serve based on those draws. By adjusting the number ranges, you can control how likely each response is to be served.
This approach works best when you have a small number of responses (2-4). For more complex scenarios with many responses, see the Scale to many responses section below.
1. Create two responses
Create a new HTTP route (any method, for example GET /weighted). Its status code should be set to 200 by default. Add a response body like this:
Copy{ "message": "Success path" }
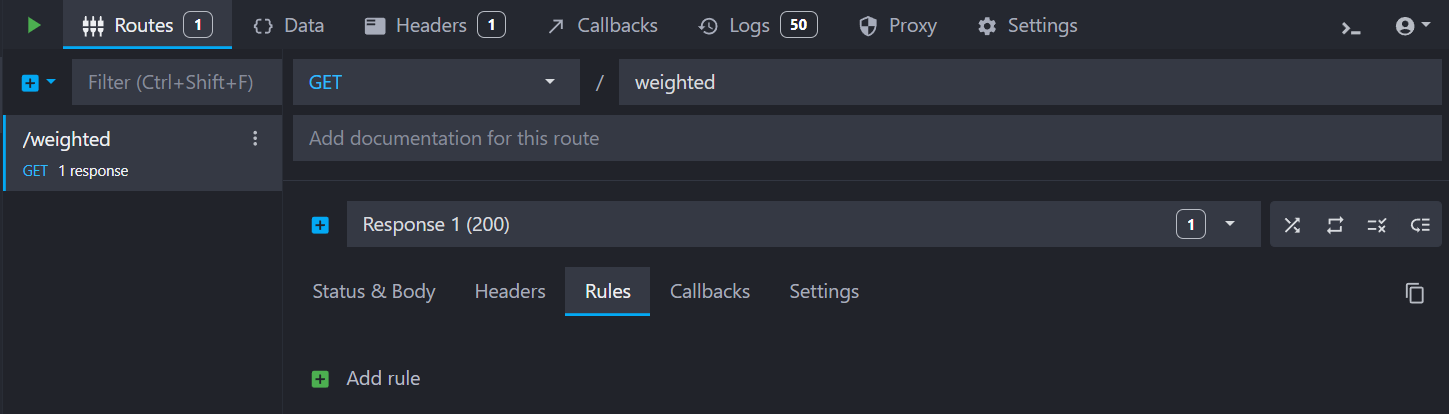
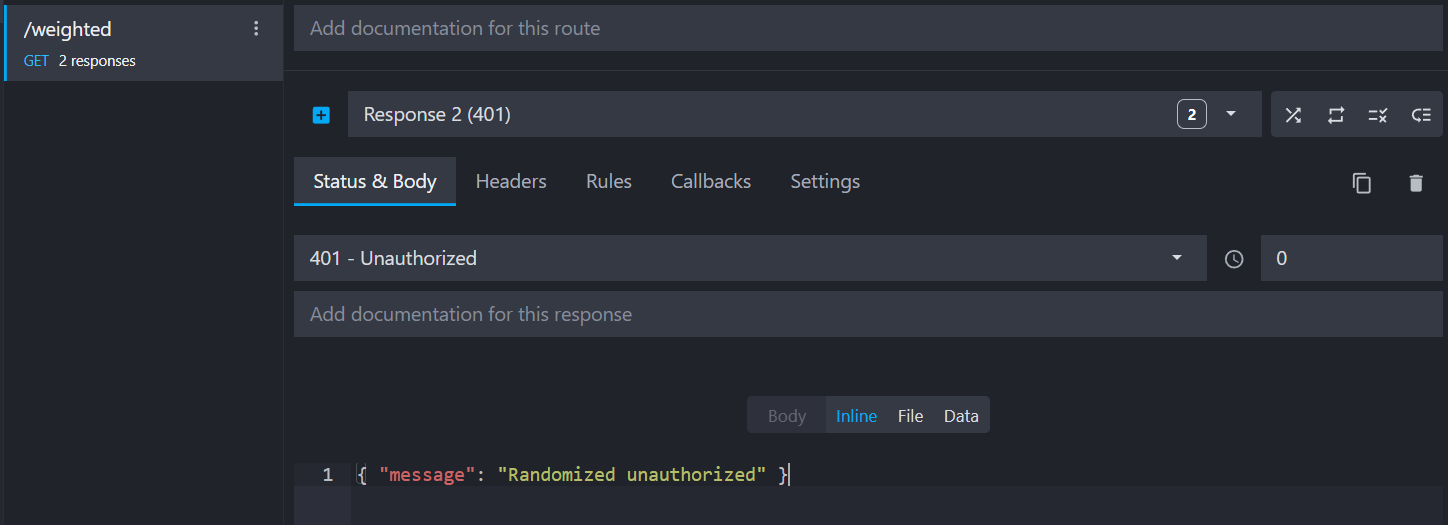
Add a second response, for example with status 401. Example body:
Copy{ "message": "Randomized unauthorized" }
2. Add a probability rule on the 401
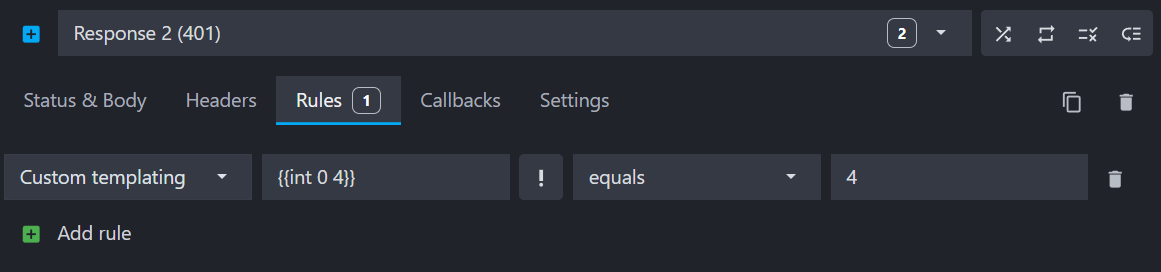
Open the Rules tab on the 401 response and add a Custom templating rule. Then, use one of the following templates and operators below to define the probability of this response being served:
- Option 1, 1 in N weight:
{{int 0 4}}"equals"4for a ~20% chance of 401:
- Option 2, percentage-style threshold:
{{lt (int 0 100) 20}}"equals"truefor a ~20% chance of 401 as well:
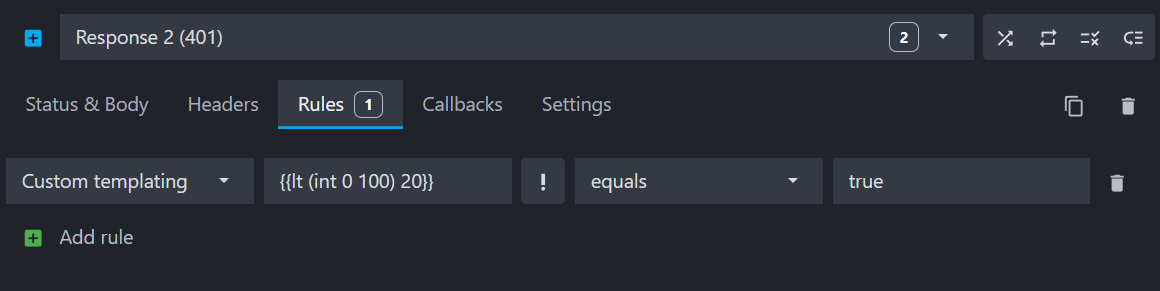
Because the 200 response stays the default, any call that fails the 401 rule falls back to 200. Keep the default flag on the 200 response so it always catches the "else" case.
Of course, different setups can achieve the same effect: 401 as the default response, using the greater-than operator, etc. The key is to define non-overlapping ranges across responses so only one rule can match per request.
3. Test
Let's send several requests in a row to our new endpoint, here using hey. You should see the 401 response match at the frequency defined by your rule, with all other calls returning the default 200 response.
Copy$ hey -n 2000 -m GET http://localhost:3000/weighted
...
Status code distribution:
  [200] 1629 responses
  [401] 371 responses
⚠️ Limitations: this approach works quite well for a small number of responses. However, the more responses you add, the more approximate the distribution becomes.
5. Scale to many responses
When you add more than two responses, use a single random draw per request and cumulative thresholds across ordered responses. The simplest way to share a draw is to seed a global variable in the first non-default response's rule, then read it in subsequent rules.
First, create a new route with 4 responses ordered as follows: 200 (default flagged), 401, 429, 500.
On the 401 response, add a custom templating rule target:
Copy

Set operator to equals and value to true. This will seed a random integer between 0 and 100 in the global variable rand and check if it is less than 5. If so, the 401 response will be served (~5% of requests).
On the 429 response, use two AND rules to check the next cumulative threshold:
Copy

Set operators to equals and values to true. This will check if the random integer is between 5 and 15. If so, the 429 response will be served (~10% of requests).
On the 500 response, use two AND rules to check the next cumulative threshold:
Copy

Set operators to equals and values to true. This will check if the random integer is between 15 and 45. If so, the 500 response will be served (~30% of requests).
Rules are evaluated in order, so the first matching rule is used. The final 200 response is the default and catches all remaining requests (~55% of requests).
You can test this setup with the same hey command as before, and you should see the distribution of responses match the defined probabilities.
Copy$ hey -n 2000 -m GET http://localhost:3000/weighted-with-var
...
Status code distribution:
  [200] 2191 responses
  [401] 187 responses
  [429] 381 responses
  [500] 1241 responses
Download the example environment
You can download the example environment file created for this tutorial or directly open it in Mockoon desktop or CLI:
You might also be interested in these tutorials
Record API requests and HTTP traffic and auto-mock endpoints
Learn how to record entering API requests and HTTP traffic and auto-mock your endpoints with Mockoon
Read moreCreate full mock REST APIs in seconds using Mockoon's CRUD routes
Learn how to use Mockoon's CRUD routes to create a full mock REST API and manipulate resources with GET, POST, PUT, PATCH, and DELETE requests.
Read moreGenerate dynamic mock data with Mockoon templating system
Learn how to generate dynamic JSON, CSV or XML realistic mock data with Mockoon powerful templating system and helpers
Read more