Simulate webhooks and callbacks in your mock API server
Learn how to simulate webhooks or callbacks in your mock API server to test your application's behavior when receiving asynchronous events from third-party services or APIs.
In this tutorial, we will learn how to simulate webhooks or callbacks in your mock API server. This feature is useful when you need to test your application's behavior when receiving asynchronous events from third-party services or APIs, like payment gateways or messaging services.
While webhooks and callbacks are similar concepts, they have some differences. Webhooks are used to notify applications of an event. They usually take the form of an API endpoint receiving a request with a payload, for example, when a payment is processed or a message is received. On the other hand, callbacks are used to return a response to a previous request, for example, when data are processed.
In Mockoon, these concepts are treated similarly and can be simulated using the same mechanism called "Callbacks". Callbacks can be created in the "Callbacks" view. After creating a callback, you can attach it to an endpoint to trigger it when the endpoint is called.
Let's create a simple example with an order creation in an e-commerce application. We will create a new order creation endpoint that will trigger a callback when called. The callback will simulate payment processing and update the order status after a delay.
💡 This tutorial assumes you are familiar with the basics of Mockoon, like creating endpoints and using templates. If you are new to Mockoon, you can check the other tutorials to get started.
1. Create a new data bucket to store orders
The first step is to create a new data bucket to store the orders. A data bucket is like a simple JSON database that can be used to store and share data between endpoints.
Go to the "Data" view, click on the "Add data" button, and name it "orders":

You can keep the default content of the data bucket (an empty array []).
2. Create a new "order" endpoint
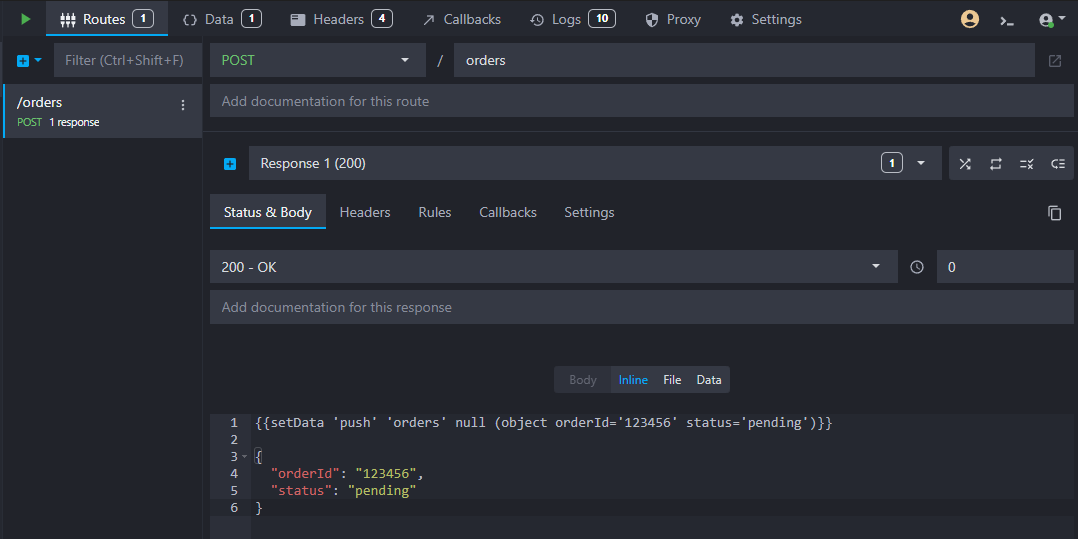
The next step is to create a new endpoint that will simulate an order creation in your application. This endpoint will store a new order in our data bucket and later trigger the callback. Let's create a new HTTP POST route with the path /orders and add a template to the response body to simulate the order creation in the data bucket and return the new order:
Copy{{setData 'push' 'orders' null (object orderId='123456' status='pending')}}

{
  "orderId": "123456",
  "status": "pending"
}
💡 Note the null argument in the setData helper in place of the key as we want to push at the root level of the data bucket.
Here is a screenshot of the new endpoint with the method, path, and template set:
3. Create a GET endpoint to retrieve the orders
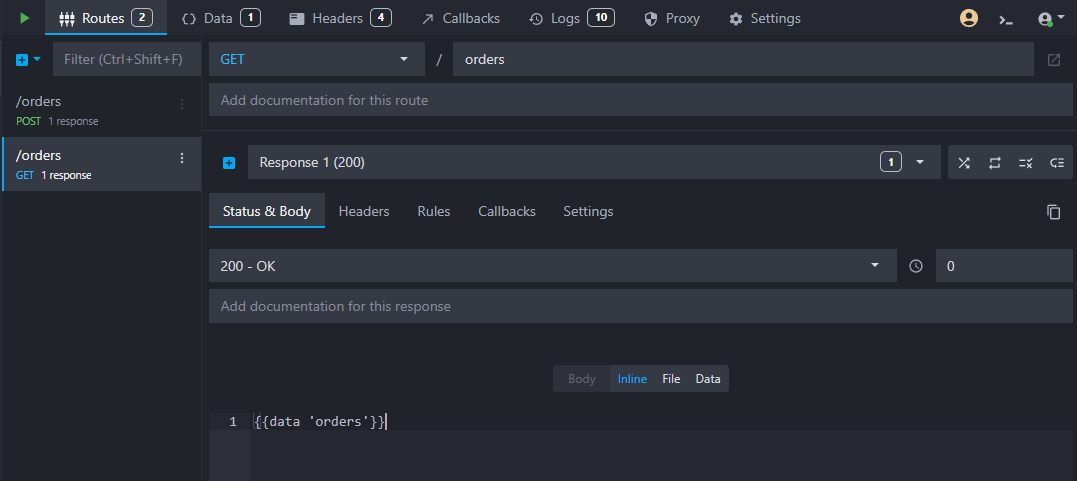
To check the order was correctly inserted in the data bucket, let's create a new GET endpoint to retrieve all the orders. This step is not necessarily required but will help us test our workflow. Create an HTTP GET route with the path /orders. Here too, we will use a short template to return the orders stored in the data bucket:
Copy{{data 'orders'}}
💡 The data helper already stringifies the data bucket content, so you don't need to do it yourself with a stringify helper.
Your new endpoint should look like this:
4. Create a new webhook endpoint
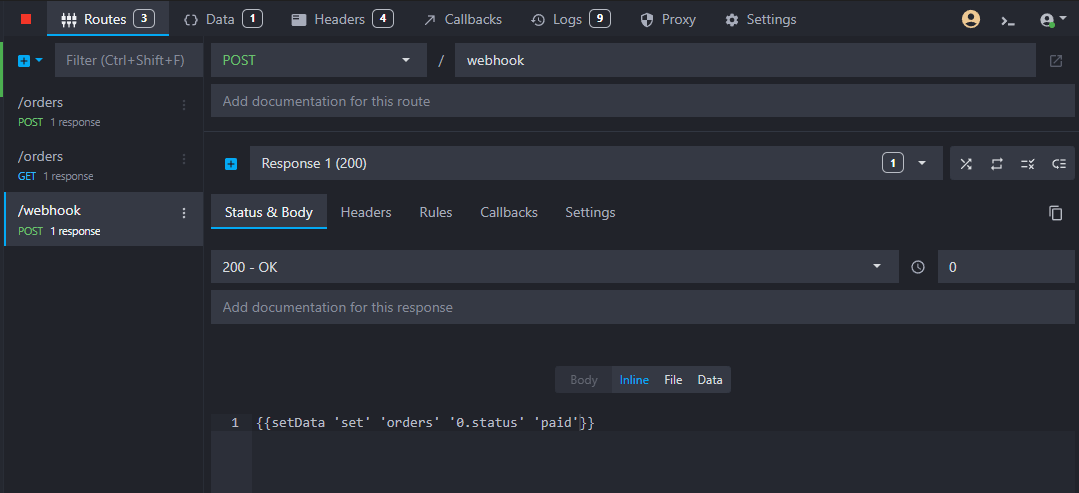
We now need to create a new endpoint that will receive the webhook from the simulated payment gateway. This endpoint will update our order status. Let's create a new HTTP POST route with the path /webhook and add a template to update the order status in the data bucket:
Copy{{setData 'set' 'orders' '0.status' 'paid'}}
Your webhook endpoint should look like this:
5. Create a new callback
We are now ready to create the callback that will simulate a delayed response from a payment gateway. Go to the "Callbacks" view and click on the "Add new callback" button. Name it "Payment processing". In the callback's method field, select "POST" and set the URL to http://localhost:3000/webhook:
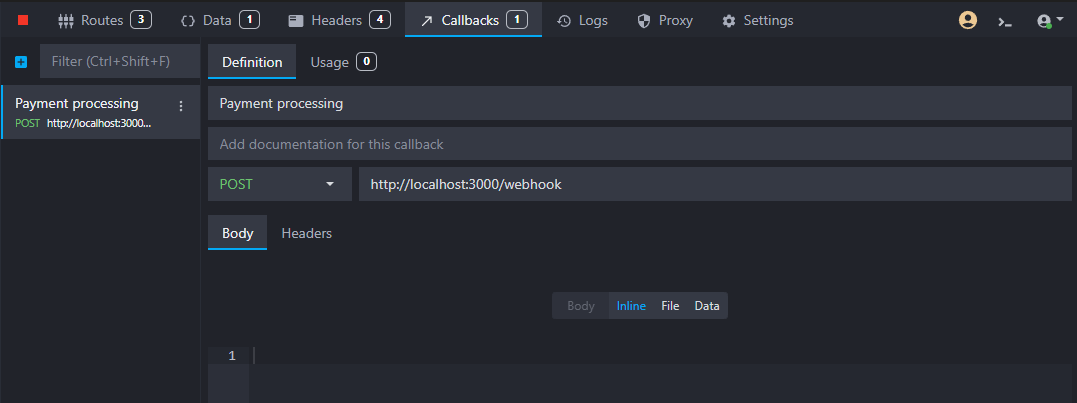
📝 Do not forget to set the port to the one you are using for your mock API server. In this example, we are using the default port 3000.
6. Attach the callback to the order creation endpoint
To simulate a payment processing happening after an order is created, we need to attach the callback to the order creation endpoint (POST /orders). To do so, go back to the "Routes" view, select the order creation endpoint, and click on the "Callbacks" tab in the response view. Select the "Payment processing" callback, and add a delay of 10 seconds:

7. Test the workflow
To test your new workflow, first start your mock API server (using the "Play" arrow at the top). Then, using your favorite HTTP client (like Postman, Insomnia, or curl), send a POST request to the /orders endpoint:
Copycurl -X POST http://localhost:3000/orders
You can then check the order was correctly inserted by sending a GET request to the /orders endpoint:
Copycurl http://localhost:3000/orders
You should see the order with the status "pending":
Copy[
  {
    "orderId": "123456",
    "status": "pending"
  }
]
After 10 seconds, the callback will be triggered and the order status will be updated to "paid". You can verify the new status by sending another GET request to the /orders endpoint:
Copy[
  {
    "orderId": "123456",
    "status": "paid"
  }
]
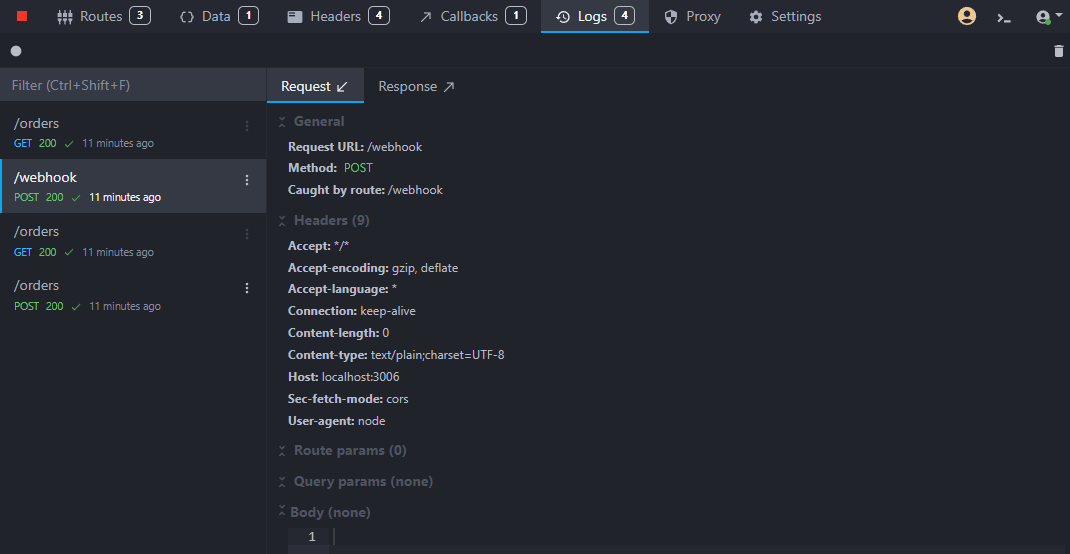
Finally, you can check the request logs in the "Logs" view to see if the webhook was triggered:
Next steps
You now know how to simulate webhooks and callbacks in your mock API server. You can use this feature to test your application's behavior when receiving asynchronous events from third-party services or APIs.
You can also extend this example by generating order IDs dynamically, adding more data to the orders, or simulating other events like order shipping or order cancellation.
Download the example environment
You can download the example environment file created for this tutorial or directly open it in Mockoon desktop or CLI:
You might also be interested in these tutorials
Serve static files with a custom mock endpoint
Learn how to create an endpoint to serve static files (images, fonts, etc.) in your mock API server using Mockoon
Read moreRecord API requests and HTTP traffic and auto-mock endpoints
Learn how to record entering API requests and HTTP traffic and auto-mock your endpoints with Mockoon
Read moreGenerate dynamic mock data with Mockoon templating system
Learn how to generate dynamic JSON, CSV or XML realistic mock data with Mockoon powerful templating system and helpers
Read more