Create your first API with PHP Laravel (or mock it using Mockoon!)
Learn how to create your first REST API and endpoints with the PHP Laravel framework or mock it using Mockoon to accelerate your application development
In this tutorial, you will learn how to create a basic REST API using PHP's Laravel framework. Laravel is one of the most popular PHP frameworks for web application development and REST API creation.
Before continuing, you can learn more about REST APIs in general, how they work, their components, etc. in our series of tutorials
Creating an API using this framework is easy, straightforward, and only requires the following basic steps.
1. Verify that PHP and Composer are installed
To create a simple API using Laravel, we first need to verify that PHP and composer are installed by running the following commands:
Copy$ php -v
PHP 8.1.6 (cli) (built: May 11 2022 08:55:59) (ZTS Visual C++ 2019 x64)
Copyright (c) The PHP Group
Zend Engine v4.1.6, Copyright (c) Zend Technologies

$ composer -v
   ______
  / ____/___  ____ ___  ____  ____  ________  _____
 / /   / __ \/ __ `__ \/ __ \/ __ \/ ___/ _ \/ ___/
/ /___/ /_/ / / / / / / /_/ / /_/ (__  )  __/ /
\____/\____/_/ /_/ /_/ .___/\____/____/\___/_/
                    /_/
Composer version 2.3.10 2022-07-13 15:48:23
Go to the PHP and Composer website download pages if the above commands are unsuccessful.
2. Generate a new application with Composer
To generate a new Laravel application, we will use Composer. It will automatically install the required dependencies and create an application skeleton. To create this new application, run the following command in any folder of your choice:
Copy$ composer create-project laravel/laravel my-api
Creating a "laravel/laravel" project at "./my-api"
Installing laravel/laravel (v9.3.2)
  - Downloading laravel/laravel (v9.3.2)
...
You can rename the application by modifying my-api to the name of your choice. Composer will create a new folder containing the scaffolded application.
3. Create a new controller
To add routes to our REST API, we first need to create a new controller. To do so, run the following command:
Copy$ php artisan make:controller API/UsersController --api
   INFO  Controller created successfully.
It will create a new API controller UsersController in a subfolder of the ./app/Http/Controllers folder. Thanks to the --api flag, the controller code will be stripped out of unnecessary methods.
4. Create a new route
Next, we will need to add a new route pointing to our UsersController. To do so, open the ./routes/api.php file, and add the following lines:
Copyuse App\Http\Controllers\API\UsersController;

Route::apiResource("users", UsersController::class);
You can verify that your API route were added by listing them using the following command:
Copy$ php artisan route:list

  GET|HEAD        / ............................................................
  GET|HEAD        api/user .....................................................
  GET|HEAD        api/users ............ users.index › API\UsersController@index
  POST            api/users ............ users.store › API\UsersController@store
  GET|HEAD        api/users/{user} ....... users.show › API\UsersController@show
  PUT|PATCH       api/users/{user} ... users.update › API\UsersController@update
  DELETE          api/users/{user} . users.destroy › API\UsersController@destroy
                                                             Showing [7] routes
You may have more routes showing in this list depending on your configuration.
5. Serve the application and test the endpoint
We now have a basic setup that allows us to serve the application and test our endpoints.
To serve the PHP Laravel application, run the following command:
Copy$ php artisan serve
   INFO  Server running on [http://127.0.0.1:8000].
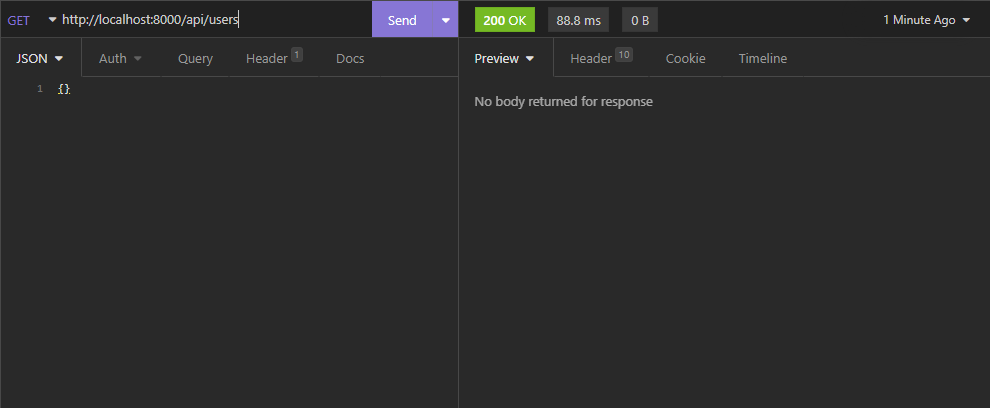
Your API is available on http://localhost:8000/api/xxxx. You can now check that you are receiving a successful response (status code 200) when calling the /api/users endpoint with your favorite API testing tool (here Insomnia):

6. Add some fake data JSON to the GET /users endpoints
We will not create a Model or connect the controller to a database in this tutorial. We will only return some fake JSON data from the API endpoints.
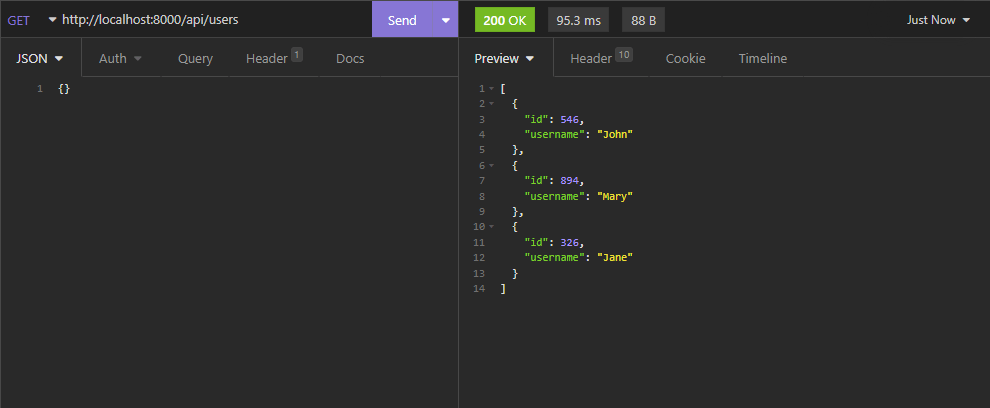
Let's return a list of users from the GET /users route by returning a simple PHP object from the controller's index method:
Copy/**
 * Display a listing of the resource.
 *
 * @return \Illuminate\Http\Response
 */
public function index()
{
    $object = [
        (object) [
            'id' => 546,
            'username' => 'John',
        ],
        (object) [
            'id' => 894,
            'username' => 'Mary',
        ],
        (object) [
            'id' => 326,
            'username' => 'Jane',
        ]
    ];

    return response()->json($object);
}
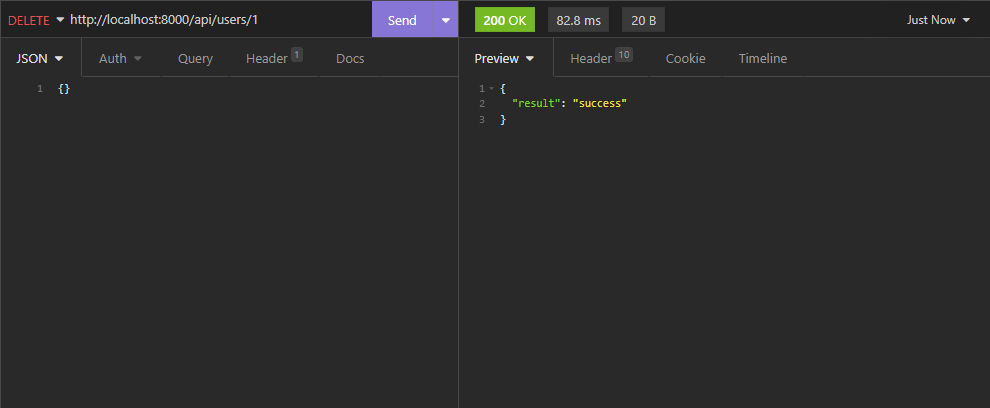
We can also return a JSON message from the DELETE /users route by returning a simple success message from the controller's destroy method:
Copy/**
 * Remove the specified resource from storage.
 *
 * @param  int  $id
 * @return \Illuminate\Http\Response
 */
public function destroy($id)
{
    return response()->json((object) [
        'result' => 'success'
    ]);
}
Note that Laravel will automatically handle the JSON serialization of our objects and send the correct Content-Type: application/json header as we use the response()->json() function.
7. Test your endpoints
You can do a test call to the following API endpoints GET /users and DELETE /users and see the returned response:


Of course, this code is quite basic, and the two routes we created should probably load the list of users and delete users from a database before returning a result. But this is out of the scope of this small tutorial.
Speed up development with API mocking
Working with an API can be challenging. It could be unavailable for various reasons: the whole API is under development, some routes are missing, the documentation is outdated, the access is restricted to the production environment or behind a firewall, etc.
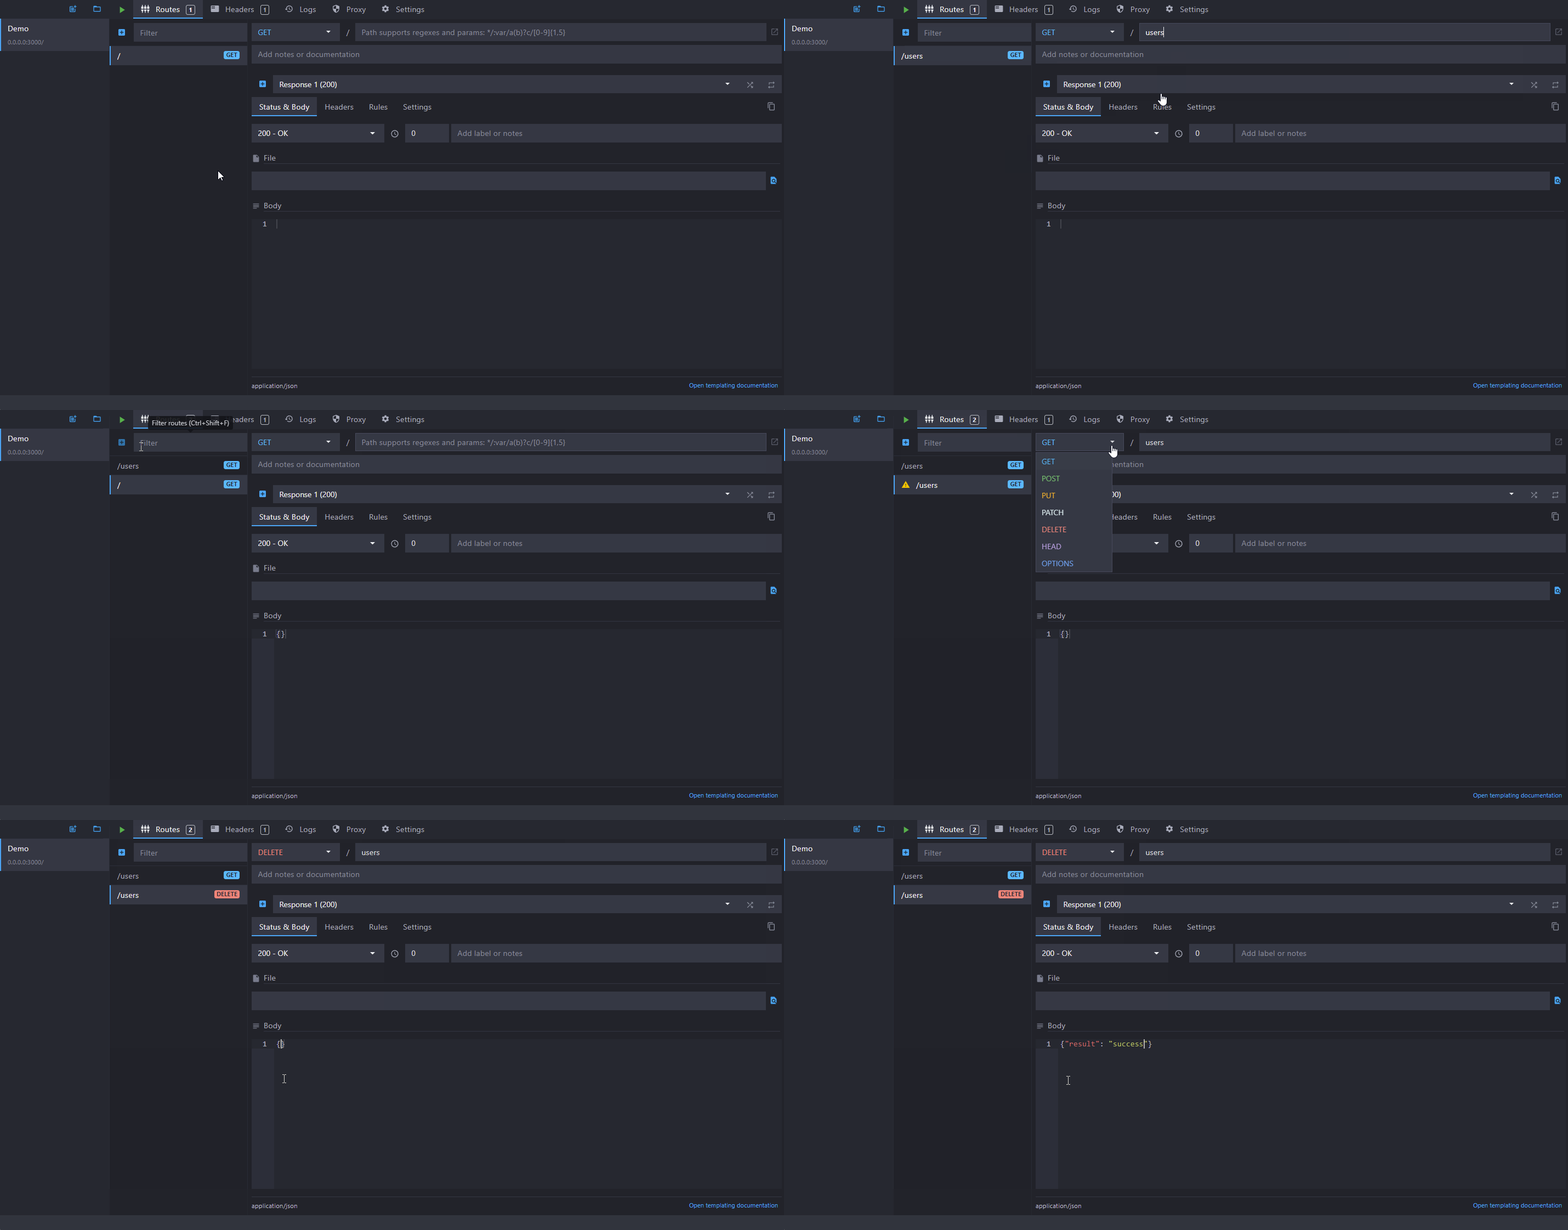
Instead of waiting for the API to be ready to be able to consume it, you could mock it using an API mocking tool like Mockoon.
API mocking is a technique that consists in imitating an unavailable API by simulating the endpoints and their responses. With this technique, you can have a running mock in no time and start calling it right away from your front-end or back-end application.
Mocking an API with Mockoon is easy and requires only some small steps to start working.
To learn more about setting up Mockoon and creating your first fake API in less than 5 minutes, head over to our getting start tutorial
 API mocking with Mockoon
You might also be interested in these tutorials
Create global rules for your routes
Learn how to create global rules to protect all your routes at once.
Read moreCreate a partial mock API with Mockoon's proxy mode
Learn how to create partial mocks of existing APIs with Mockoon's proxy mode in three easy steps
Read moreUse persisting data buckets to share data across routes
Learn how to use Mockoon's data bucket feature to share data across routes and create more advanced scenarios with configuration endpoints
Read more