Create your first API with the Golang Gin (or mock it using Mockoon!)
Learn how to create your first REST API and endpoints with the Golang Gin framework or mock it using Mockoon to accelerate your application development
In this tutorial, you will learn how to create a basic REST API using the Go language and its HTTP web framework, Gin. Golang is an open-source language supported by Google. Its simplicity and versatility make it very popular. As in any other language, you can create any application, like REST APIs.
Before continuing, you can learn more about REST APIs in general, how they work, their components, etc. in our series of tutorials
Creating an API using this framework is easy, straightforward, and only requires the following basic steps.
1. Verify that Go is installed
To create a simple API using Go, we first need to verify that it is installed on your computer by running the following commands:
Copy$ go version
go version go1.19 windows/amd64
Go to the Golang website download page if the above command is unsuccessful.
2. Create a new Go file and a new module
To create a new Go application, you first need to create a new Go file in the folder of your choice. Let's name it main.go and add the following package declaration:
Copypackage main
We will also need to create a module to manage our dependencies. To do so, run the following command in the same folder:
Copy$ go mod init tutorial/api
go: creating new go.mod: module tutorial/api
go: to add module requirements and sums:
        go mod tidy
3. Add the required dependencies
As we will be using Gin to create our HTTP server, we need to add it as a dependency with net/http. To do so, add the following lines in the main.go file:
Copypackage main

import (
    "net/http"
    "github.com/gin-gonic/gin"
)
4. Add the main method and create a web server
In our main.go file, we need to create a main() function that will be called on startup and initialize and run our HTTP server:
Copyfunc main() {
    router := gin.Default()

    // TODO define routes

    router.Run("localhost:8080")
}
This code will initialize a new Gin router and start the HTTP server on port 8080.
5. Create fake data for the GET route
We will not cover the setup and connection to a database in this tutorial. We will directly store and return fake data from a GET /users route.
First we need to declare a user struct to use with our in-memory data. Add the following code after the import section:
Copytype user struct {
    Id        int     `json:"id"`
    Username  string  `json:"username"`
}
Then, we can create a variable holding some random user data, here, an array of users with an id and a username:
Copyvar users = []user{
    {Id: "546", Username: "John"},
    {Id: "894", Username: "Mary"},
    {Id: "326", Username: "Jane"},
}
6. Create a GET route
Next, we will need to add a new GET /users route returning our fake data. To do so, we need to use router.GET in the main function, and add a getUsers function returning our fake data formatted as JSON:
Copyfunc getUsers(c *gin.Context) {
    c.IndentedJSON(http.StatusOK, users)
}

func main() {
    router := gin.Default()

    // new `GET /users` route associated with our `getUsers` function
    router.GET("/users", getUsers)

    router.Run("localhost:8080")
}
Here is the full and final code of our small web server and GET /users route:
Copypackage main

import (
    "net/http"
    "github.com/gin-gonic/gin"
)

type user struct {
    Id        int     `json:"id"`
    Username  string  `json:"username"`
}

var users = []user{
    {Id: 546, Username: "John"},
    {Id: 894, Username: "Mary"},
    {Id: 326, Username: "Jane"},
}

func getUsers(c *gin.Context) {
    c.IndentedJSON(http.StatusOK, users)
}

func main() {
    router := gin.Default()

    // new `GET /users` route associated with our `getUsers` function
    router.GET("/users", getUsers)

    router.Run("localhost:8080")
}
7. Track dependency
Before running our code, we must track the Gin module as a dependency. For this, run the following command:
Copy$ go get .
go: downloading github.com/gin-gonic/gin v1.8.1
...
go: added github.com/gin-gonic/gin v1.8.1
...
This will add the Gin module as a dependency of our module.
8. Run the server
We now have a basic setup that allows us to run the application and test our endpoints.
To run the Golang application and Gin HTTP server, run the following command:
Copy$ go run .
...
[GIN-debug] GET    /users       --> main.getUsers (3 handlers)
...
You can verify that your routes are correctly created in the debug output of the command. Your API is now available on http://localhost:8080.
7. Test your endpoints
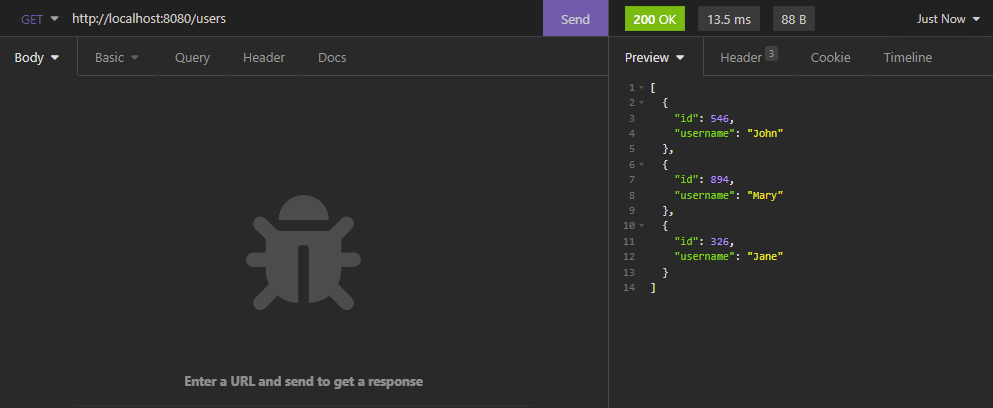
You can do a test call to the following GET /users endpoint and see the returned response:

Of course, this code is quite basic, and the route we created should probably load the list of users from a database before returning a result. But this is out of the scope of this small tutorial.
Speed up development with API mocking
Working with an API can be challenging. It could be unavailable for various reasons: the whole API is under development, some routes are missing, the documentation is outdated, the access is restricted to the production environment or behind a firewall, etc.
Instead of waiting for the API to be ready to be able to consume it, you could mock it using an API mocking tool like Mockoon.
API mocking is a technique that consists in imitating an unavailable API by simulating the endpoints and their responses. With this technique, you can have a running mock in no time and start calling it right away from your front-end or back-end application.
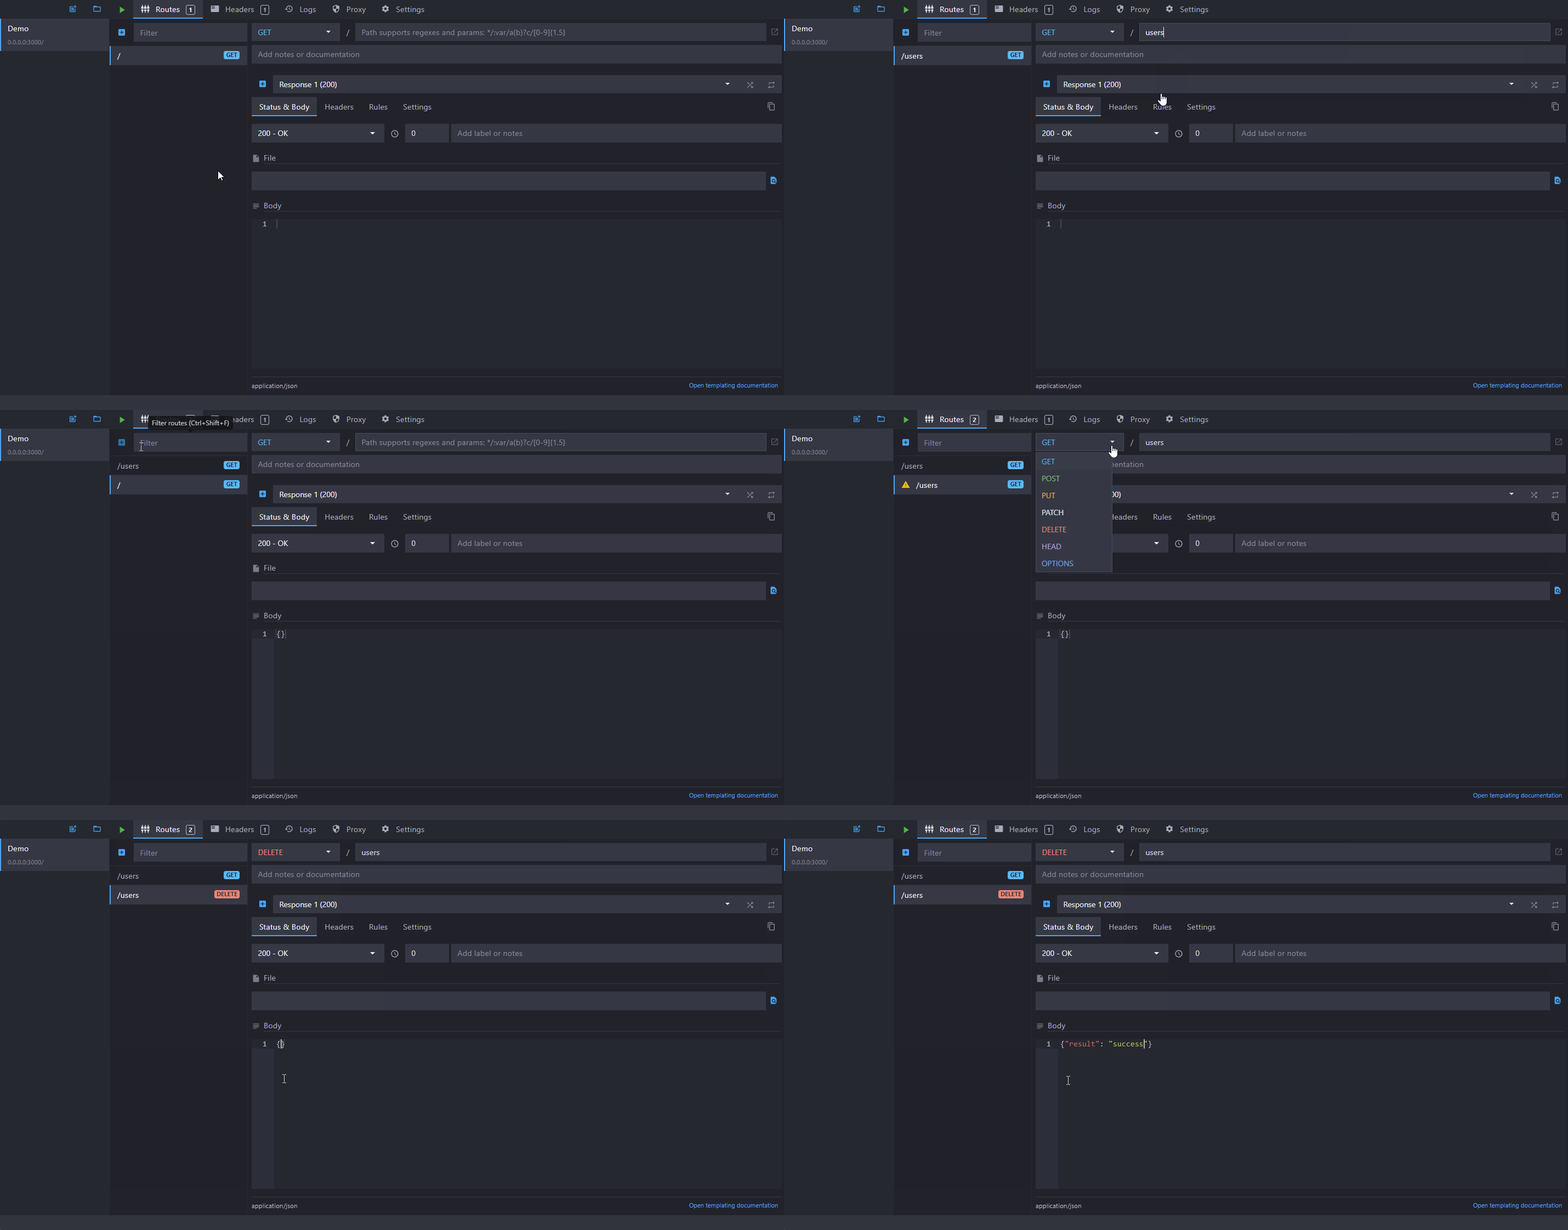
Mocking an API with Mockoon is easy and requires only some small steps to start working.
To learn more about setting up Mockoon and creating your first fake API in less than 5 minutes, head over to our getting start tutorial
 API mocking with Mockoon
You might also be interested in these tutorials
Create a partial mock API with Mockoon's proxy mode
Learn how to create partial mocks of existing APIs with Mockoon's proxy mode in three easy steps
Read moreGetting started with Mockoon Cloud
Learn how to get started with Mockoon Cloud, a cloud-based service that allows you collaborate on your mock APIs with your team
Read moreUse persisting data buckets to share data across routes
Learn how to use Mockoon's data bucket feature to share data across routes and create more advanced scenarios with configuration endpoints
Read more