Validate your request payloads with JSON Schema
Learn how to validate your request payloads with JSON Schema in Mockoon to ensure your API clients send the correct data
In this tutorial, we will learn how to validate your request payloads with JSON Schema to ensure your API clients send the correct data.
JSON Schema is a powerful tool to define the structure of your JSON data. It allows you to specify the type of each field, the required fields, and the allowed values.
📘 To learn more about JSON Schema, you can check the official documentation.
In Mockoon, you can use a JSON schema in the rules of an endpoint to validate the request payload. JSON Schemas can also be used to validate other sources of data, like query parameters, but we will focus on the request body in this tutorial, which is the most common use case.
Let's create a simple example with a user registration endpoint. We will create a new endpoint that will accept a JSON payload with the user's email and password. We will use a JSON Schema to validate the payload and return an error if the payload is incorrect.
💡 This tutorial assumes you are familiar with the basics of Mockoon, like creating endpoints and using templates. If you are new to Mockoon, you can check the other tutorials to get started
⚠️ This tutorial requires v9.1.0 or later of Mockoon. You can download the latest version of Mockoon here.
1. Create a new data bucket to store the JSON Schema
The first step is to create a new data bucket to store the JSON Schema. A data bucket is like a simple JSON database that can be used to store and share data between endpoints. To compare a source of data with a JSON Schema, the rule system requires the JSON Schema to be stored in a data bucket.
Go to the "Data" view, click on the "Add data" button, and name it "sign_up":
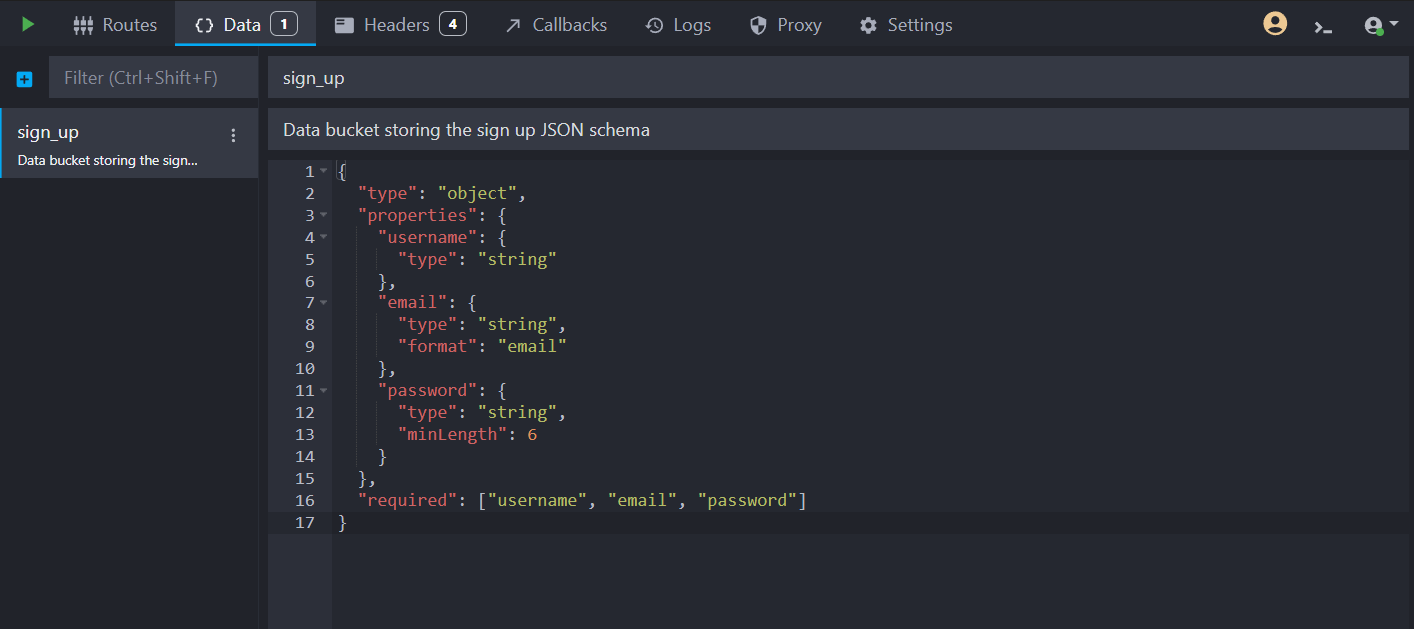
We added a JSON Schema in the data bucket to validate the user registration payload. This schema requires the username, email, and password fields to be present and to have the correct types and formats. You will find this schema below:
Copy{
  "type": "object",
  "properties": {
    "username": {
      "type": "string"
    },
    "email": {
      "type": "string",
      "format": "email"
    },
    "password": {
      "type": "string",
      "minLength": 6
    }
  },
  "required": ["username", "email", "password"]
}
🛠️ We created an online tool to help you validate your JSON Schema before using it in Mockoon.
We generated this JSON Schema using an AI assistant part of Mockoon Cloud. This assistant can help you generate JSON templates, schema, and more.
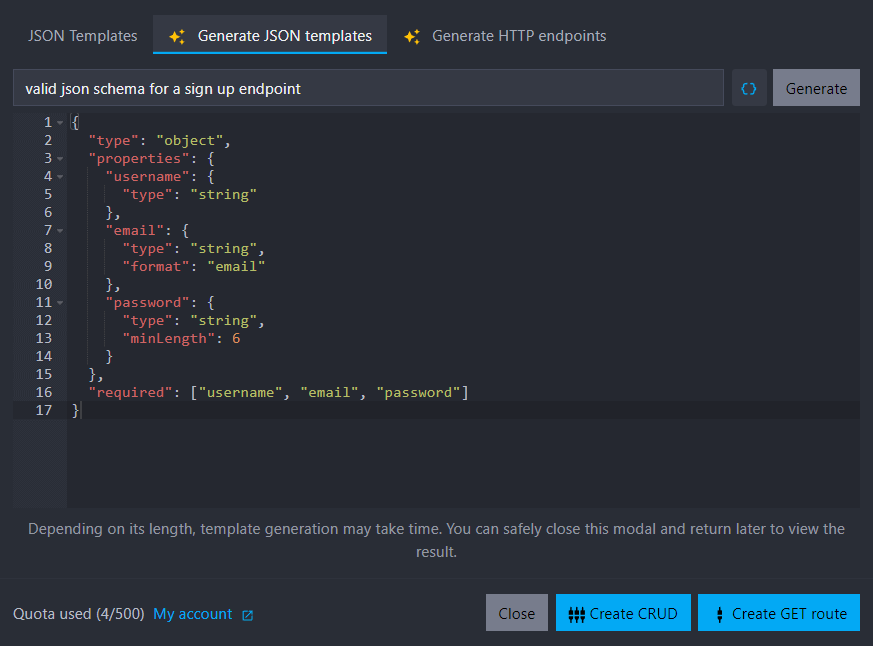
💡 Learn more about the AI assistant in the Mockoon Cloud documentation.
2. Create a new "sign up" endpoint
The next step is to create a new endpoint that will simulate the user registration in your application. This endpoint will contain two responses: a default one with a 400 status code and an error message if the payload is incorrect and a successful one with a 201 status code if the payload is correct.
Let's create a new HTTP POST route with the path /signup:

The first response, the default one, will return a 400 status code and an error message if the payload is incorrect. Change the status code and add the following template to the response body:
Copy{
  "error": "Invalid payload"
}
Your new endpoint should look like this:
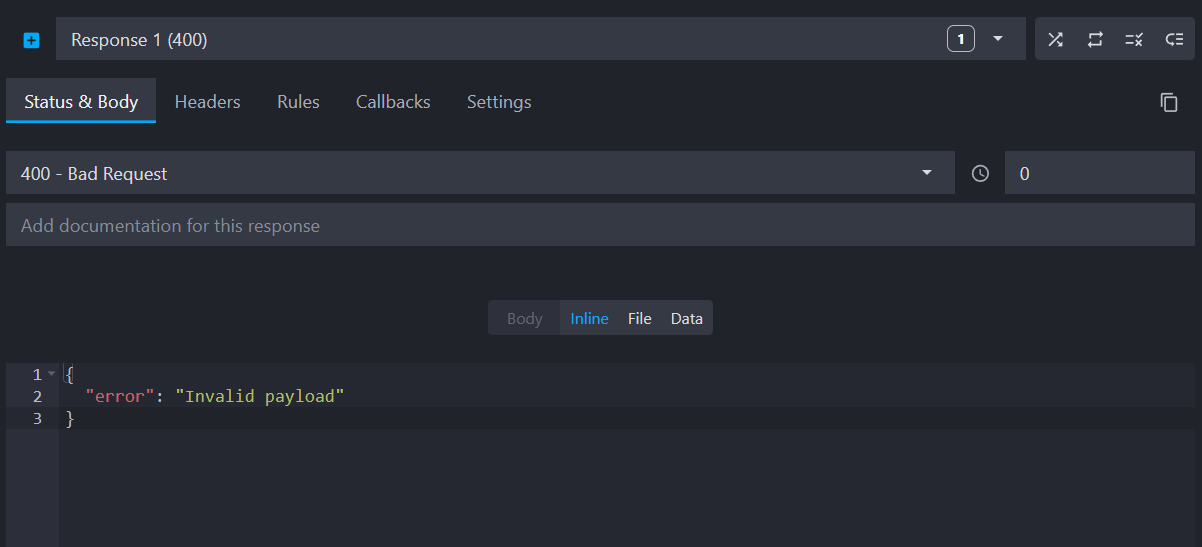
📘 The default response, marked with a blue flag, is the response that will be sent if no other rule matches the request. To learn more about our rule system, you can check the official documentation.
3. Add a second response to validate the payload
Now that we have an endpoint with a default 400 response to handle invalid payloads, let's add a second response to validate the payload with the JSON Schema stored in the data bucket.
We will need to create a new response with a 201 status code, a successful message, and a rule to validate the payload with the JSON Schema, to only trigger this response if the payload is correct.
Add a new response by clicking on the "Add response" button. Set the status code to 201 and add the following template to the response body:
Copy{
  "message": "User registered successfully"
}
Your new response should look like this:
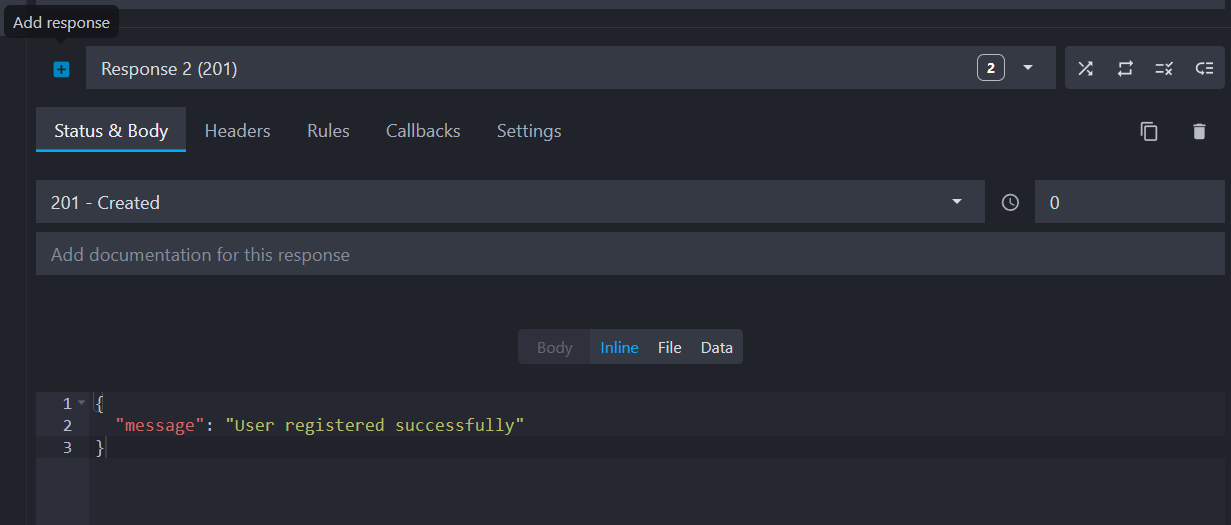
Then, click the "Rules" tab and add a new rule to validate the request payload with the JSON Schema stored in the data bucket.
We need to compare the request payload (body) with the JSON Schema stored in the data bucket. Select the "Body" source and the "Valid JSON Schema" operator. Then, enter "sign_up" in the rule value to reference the data bucket containing the JSON Schema:

💡 Mockoon will use the ajv library to validate the data against the JSON Schema.
4. Test your endpoint
To test your new workflow, start your mock API server (using the "Play" arrow at the top). Then, using your favorite HTTP client (like Postman, Insomnia, or curl), send a POST request to the /signup endpoint with a Content-Type header set to application/json and a JSON payload like this:
Copy{
  "username": "john_doe",
  "email": "[email protected]",
  "password": "password123"
}
You should receive a 201 status code and a success message if the payload is correct. If you send an incorrect payload, you will receive a 400 status code and an error message.
Going further
After completing this tutorial, there are many ways you can improve your workflow with JSON Schema validation in Mockoon:
- Store multiple JSON Schemas in the same data bucket.
- Use JSON Schema to validate other sources of data, like query parameters.
- Use a "guard" route with global rules to validate the request payload for multiple endpoints.
Store multiple JSON Schemas in the same data bucket
You can store multiple JSON Schemas in the same data bucket to validate different types of payloads. For example, you can store a JSON Schema for the user registration endpoint and another for the user login endpoint in the same data bucket.
It can be done by adding multiple JSON Schemas in the same data bucket on different properties, here, sign_up and login:
Copy{
  "sign_up": {
    "type": "object",
    "properties": {
      "username": {
        "type": "string"
      },
      "email": {
        "type": "string",
        "format": "email"
      },
      "password": {
        "type": "string",
        "minLength": 6
      }
    },
    "required": ["username", "email", "password"]
  },
  "login": {
    "type": "object",
    "properties": {
      "email": {
        "type": "string",
        "format": "email"
      },
      "password": {
        "type": "string",
        "minLength": 6
      }
    },
    "required": ["email", "password"]
  }
}
The only difference after that is to reference the correct JSON Schema in the rule value by using the dot notation (e.g. mySchemasBucket.sign_up):

Use JSON Schema to validate the query parameters
You can use JSON Schema to validate other sources of data, like query parameters. For example, you can validate the query parameters of a GET request with a JSON Schema stored in a data bucket:
Copy{
  "type": "object",
  "properties": {
    "page": {
      "type": "integer",
      "minimum": 1
    },
    "limit": {
      "type": "integer",
      "minimum": 1,
      "maximum": 100
    }
  },
  "required": ["page", "limit"]
}
To validate the query parameters, you need to select the "Query" source in the rule, leave the path empty (unless you want to validate a specific query parameter), and use the "Valid JSON Schema" operator:

Validate the request payload for multiple endpoints
If you have multiple endpoints requiring the same JSON Schema validation, you can use a "guard" route to validate the request payload before the request is processed by the other endpoints.
A "guard" route is a route that is triggered before the other routes and lets pass the request only if the rules are matched.
Visit the dedicated tutorial on global rules to learn more about this feature.
Download the example environment
You can download the example environment file created for this tutorial or directly open it in Mockoon desktop or CLI:
You might also be interested in these tutorials
Simulate webhooks and callbacks in your mock API server
Learn how to simulate webhooks or callbacks in your mock API server to test your application's behavior when receiving asynchronous events from third-party services or APIs.
Read moreCreate global rules for your routes
Learn how to create global rules to protect all your routes at once.
Read moreCreate multiple route responses with dynamic rules
Learn how to create multiple responses for an API endpoint and serve them using dynamic rules
Read more